These instructions outline how to create a training workshop that allows people to register and receive an automated email which contains the Zoom/Webex training link and other event details. These instructions can also be applied to other subsites.
If you don’t have editor access to WordPress, first login to https://it.rutgers.edu/login. Then send a note to itcomm@rutgers.edu to give you editor access to the https://oarc.rutgers.edu/ site.
1. Once you have been given editor access, you will need to log in to WordPress in order to access the site in the future: https://it.rutgers.edu/login.
2. After you have logged in, the easiest way to create a new training event is to copy and edit an existing event and form. Let’s look at August 2021 as an example: https://oarc.rutgers.edu/events/month/2021-08/ and copy the August 6 “Intro to Python” https://oarc.rutgers.edu/event/intro-to-python-8-6-21/ event.
3. To copy this event, load the page in your browser: https://oarc.rutgers.edu/event/intro-to-python-8-6-21/
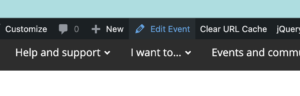
4. Click on “Edit Event”
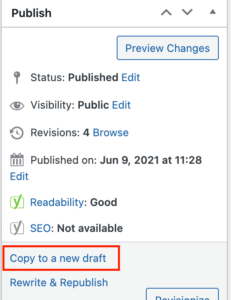
5. On the upper right, select Copy to a new draft.
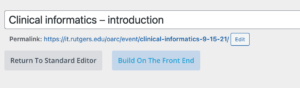
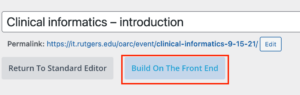
6. Edit the title and update the url/permalink of the new event so that it includes the title and date:
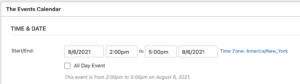
7. Update the date and time.
8. Next, scroll back up and select Build On The Front End. This brings you to the Divi Front End Builder where you can edit the text module.
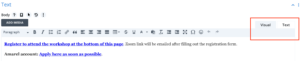
9. Select the gear icon to edit the text module.
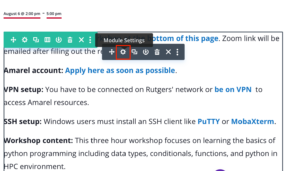
10. Update your text in either the visual tab editor or the text editor where you can edit the html. You will also see short code for a ninja form in the text module such as [ninja_form id='25']. Make a note of the ninja form id number.
11. Once you have edited the draft on the front end, click on Edit Event on the black bar at the top. Then select Save & Exit, and Save Draft.
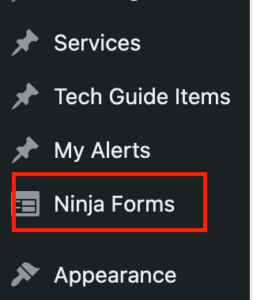
12. Next, you will duplicate the ninja form. You can find “Ninja Forms” in the left hand column. Open Ninja Forms in a new browser window so you can easily insert the new ninja form id on your new event page once you create it.
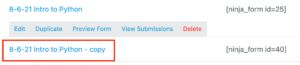
13. Click on the gear icon and select Duplicate.

14. Find your duplicate form which appears right below the original event you duplicated.
15. Edit the duplicated event.

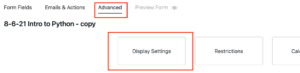
16. Go to Advanced and Display Settings. Edit your Form title. Click on Done and then Publish.
17. Select Emails & Actions. There are three actions which you will be editing:
-
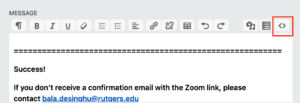
- Request Submission Success Message: this message appears on the same page as the registration form, once a user submits their registration information. Click on the gear icon to edit the success message. You can toggle between the Visual and code editor using the last button (the opening and closing tag). Updated email links should be updated in the code. Click on Done and Publish.
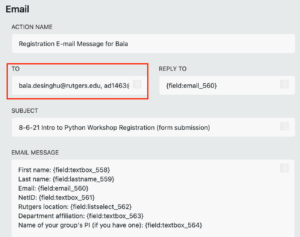
- Registration E-mail Message for [NAME]: this message will go to the person who is giving the workshop. It contains the registrants’ details. After making updates, click on Done and Publish. Update the “TO” field, to the email address of the person who will be receiving the registrants’ information.
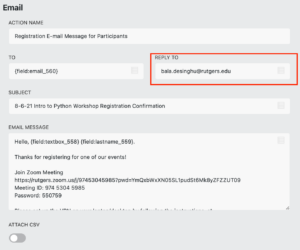
- Registration E-mail Message for Participants: this automated message will go to the event participants. It contains the event details, including the Zoom/Webex links. In the “REPLY TO” field enter the event owner’s email address. If a participant replies to the email then the note will go to the event owner. After making updates to the EMAIL MESSAGE, click on Done and Publish.
- Request Submission Success Message: this message appears on the same page as the registration form, once a user submits their registration information. Click on the gear icon to edit the success message. You can toggle between the Visual and code editor using the last button (the opening and closing tag). Updated email links should be updated in the code. Click on Done and Publish.
18. Now that you have updated these three email actions you can return to your draft event page (Step 12) and insert the ninja form’s short code onto your event page: [ninja_form id='#'].
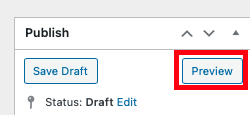
19. To test your page before publishing, click on Preview. Review your page and submit the form. Make sure the success message, form submission, and email to participants contain all the correct information. If you need to review the page with people who do not have a WordPress Account you can check the “Enable public preview” box and copy and share the preview url.
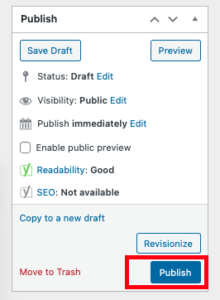
20. Publish your page to add it to the event calendar.